A short guide to movie making

It’s 2016 and visualising your idea through film is easier than ever. Unfortunately, with so many distractions engaging your audience is a lot harder than it was just a few years ago, and making them lend you 10 minutes of their time seems almost impossible. There are, however, few things you can do to make sure your productions reach more people.

Thinking it Through
Yes, well before picking up a camera you should sit down and brainstorm for few minutes with your friends. Preparing to shoot a video should take no less time than preparing for a live-audience presentation: plan ahead and outline all the major points, write full text if possible. On top of that, it will be very helpful to know the answers to the following questions before pressing ‘record’ for the first time:
– How many presenters will participate? What will each of them say?
– Will they address each other or the audience (by looking directly into the camera)?
– Do you need a specific studio, scenery or props?
– Are you planning to add any titles or animation? Have you considered using a whiteboard?
– How long your video is going to be? Are you sure it will be attractive enough to keep your audience’s attention for that long?

Finding the right equipment
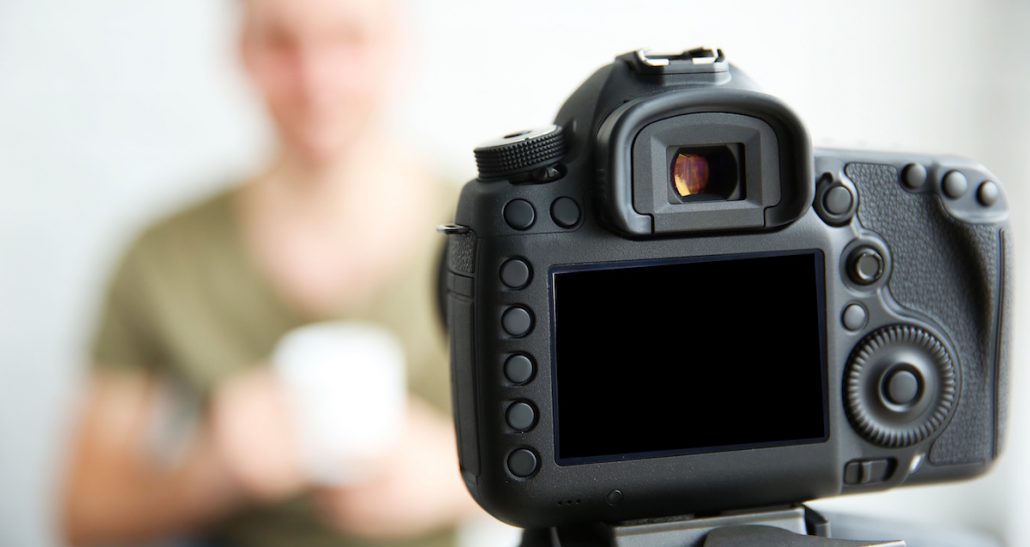
In 2016 probably the best camera for the task is the one you have right now. Don’t wait for a bigger budget because even most today’s phones offer a quality that will fit right in on YouTube and similar sites, as long as you make the right use of it. If you do, however, have a choice (or a budget to spare) invest in a DSLR (most models produced after 2009 have video recording capabilities). It will be versatile and its big digital sensor will provide a good-looking image. If you are hungry for an even better picture quality, BlackMagic Design has some excellent cameras that are just a one price step above DSLR.
 As for the sound, most cameras’ microphones are ‘good enough’ in the sense that the sound they record will be sufficiently clear, provided you follow some basic principles (more on that later). If you want to be more professional, I recommend looking for an external microphone connected to the camera via a 3.5 mm jack – it will save you the hassle of synchronising your audio and video files during editing, which can sometimes cause a lot of problems.
Also, almost any computer that is still working today (well… at least the ones less than 10 years old) will be enough to edit and deliver a film, the only difference being the time it takes to apply some filters and render the final video. For added comfort, borrow a second monitor from a friend for extra screen space.
 Staging and Framing

So you know where you will shoot your video, but have you made any effort to make it look better? Anything is nicer than a plain white wall, and there are thousands of items you can hang on it to make it look more interesting. Will there be a desk or a table? Is there going to be anything on it? What would make your video look better, more natural, more interesting? But don’t add just anything – think of items that will either highlight your theme (props, posters) or your status as a speaker (books, computer, research tools, etc.). Make sure to hide from camera everything that fails to serve one of the two purposes.
But then again, what if you are shooting outdoors, or at some remote location? Is your frame’s background interesting? Are you using the scenery’s full potential? If not, consider diving your video and making several shots with different position of the camera. Film is visual language, and the more visuals you have to illustrate your topic, the better.
 In feature film there are multiple rules for framing shots, but you should probably focus on your core audience. Where will they watch your video? On a huge screen in a science class or in a tiny windows of their laptops’ internet browser? For small screens, you should make everything bigger.
For start, it is usually good to include a wide shot (so called ‘establishment’) that shows all the characters and their surrounding. Other than that, the most part of your video should be shot on anything between a medium shot to a close up, which you can compare in this article. It will be very helpful to record the entire video a few times, with at least two camera settings, preferably very different ones (e.g. a medium shot and then a close-up). Doing this will make the editing a lot easier, since you will be able to cut out all the mistakes and then put the video together with the other shot seamlessly. This is shooting and editing 101!
 Making Yourself Heard

It will be difficult, but please remember about sound while setting your beautiful frames. There are several simple rules for homemade sound recording:
– If you want to record clear human voice, record indoors.
– If you are absolutely sure you want to shoot outdoors, spend some time to find a place secured from strong wind, traffic or machine noise.
– Make sure your friends behind the camera are completely silent: no talking, no walking. If they cannot stay quiet, they should not be in the room.
– For shots where a person is speaking, make sure your microphone is no further than two meters from the speaker’s mouth (unless you have a good microphone and really know what you’re doing).
– There is a nice trick you can use to make your indoor recordings sound a lot more professional. For best results, follow the advice from this video: https://www.youtube.com/watch?v=pABvTWSxOes If for whatever reason this is not possible, try hanging some heavy curtains on coat hangers around the set – it will work miracles!
And remember: while an ugly picture might displease some people, bad audio will instantly feel unprofessional. There is no faster way to lose audience than with distorted or unintelligible sound.
 Putting it All Together
It is easy to neglect editing, but this really is the moment your video gets shape. Few key things to remember:
– There is free video editing software for all platforms. If you don’t know where to start, try this, from the easiest to the most sophisticated:
Windows
Windows Movie Maker (free, but available only some Windows versions)
Corel VideoStudio Pro (68$)
Adobe Premiere Elements (100$)
HitFilm Express (free)
Adobe Premiere Pro (20$ monthly subscription)
DaVinci Resolve (free)
MacOS
iMovie (free)
Adobe Premiere Elements (100$)
Final Cut Pro X (300$)
HitFilm Express (free)
Adobe Premiere Pro (20$ monthly subscription)
DaVinci Resolve (free)
Linux
Open Shot (free)
Pitivi (free)
DaVinci Resolve (free)
Cinelerra (free)
- Take your time. One hour of work per each minute of finished film is reasonable minimum of time it takes to edit and postproduce a video. Plan in advance and work at your own pace. In the end, we all have show patience waiting for our renders to finish.
- Respect your audience’s time. Cut out all of the boring parts. Cut all of the unnecessary parts. In fiction films the worst thing you can do is telling the audience something they already know (Aaron Sorkin). In educational videos it might be useful to sum up and repeat more complicated ideas, but do this sparingly.
- Imagine some of the possibilities. Do you use titles? Does your video contain animation? Maybe a simple one could help explain a complicated idea better, or more clearly? Maybe inserting a picture or a photo could break the monotony or provide additional information? Be courageous and experiment, now’s the time.
- And remember, while we what we shoot is based on our ideas and/or screenplay, during editing we are limited by the material we have already shot. Are you not satisfied? Maybe you want to come back to the set and re-record a few sentences, or maybe add some to increase clarity? Do not hesitate, most Hollywood films do this: they do not end up looking all polished and professional on first try, and there is absolutely no reason why you should demand it from your videos.
 If you reached this far and are still hungry for more, I recommend wholeheartedly No Film School – an excellent website for people like you and me. Do not let yourself be scared by some of their more professional articles, they publish insightful guides for beginners as well. Good luck!
- A short guide to movie making - September 21, 2016


Leave a Reply
Want to join the discussion?Feel free to contribute!